Introduction
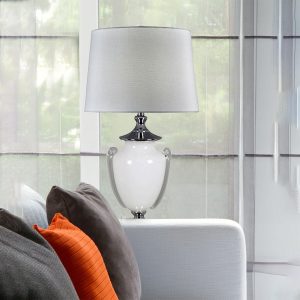
Lamps are an integral part of our houses, and everyone wants to have one that complements their decor. However, buying a lamp can be expensive, and finding the perfect one can be challenging. In this article, we will show you how to turn a vase into a lamp, which is an affordable and unique way to add some personality to your home.
Materials required
To turn a vase into a lamp, you will need the following materials:
- A vase
- A lamp kit
- A lamp harp
- A lampshade
- A drill and drill bits
- A lamp finial
- A piece of felt or rubber feet
- A glue gun
Step-by-step guide
Step 1: Choose a vase
The first step in turning a vase into a lamp is to choose a vase that you want to use. Select a vase that is stable, sturdy, and has enough space to drill a hole at the bottom for the lamp kit.
Step 2: Drill a hole
After you have chosen a vase, the next step is to drill a hole at the bottom. Place the vase on a steady surface and mark the center with a pencil. Then, with a drill bit that matches the size of the lamp kit, gently drill a hole at the center of the vase.
Step 3: Install the lamp kit
The lamp kit comes with a rod, a socket, a cord, and a plug. Install the rod into the hole, and attach the socket to the top of the rod. Then pull the cord through the rod, and attach the plug to the cord. Place the socket cover over the socket and screw it into place.
Step 4: Attach a lamp harp
A lamp harp is used to hold the lampshade in place. Attach the harp to the socket cover by screwing it in until it is tight.
Step 5: Add a lamp finial
A lamp finial is a decorative element that is attached to the top of the lampshade to hold it in place. Attach the lamp finial to the top of the harp.
Step 6: Attach the lampshade
Choose a lampshade that complements the vase and screws it onto the harp.
Step 7: Add a felt or rubber feet
To prevent the vase from scratching the surface that it will be placed upon, attach a piece of felt or rubber feet to the bottom of the vase.

