


Introduction
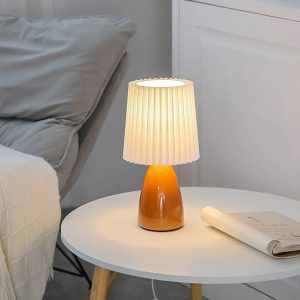
Kartell Bourgie lamps are one of the most iconic pieces in the world of interior design. Their unique style and elegant design have made them a favorite among designers, architects, and homeowners alike. However, like any other piece of furniture or home decor, Kartell Bourgie lamps can become worn or broken over time, which can be a frustrating situation, especially if you don’t want to part with your beloved lamp. Fortunately, there is a solution – spare parts. In this article, we will guide you through the process of revitalizing your Kartell Bourgie lamp with spare parts.
Why Use Spare Parts?
Using spare parts is a great way to save money, time, and effort. Instead of buying a brand new lamp, you can simply replace the worn or broken parts, such as the shade, the base, or the lamp holder. This not only saves you money but also ensures that you keep the original design and the sentimental value of your lamp.
Step-by-Step Guide
Here is a step-by-step guide to help you replace the spare parts on your Kartell Bourgie lamp.
Step 1: Identify the Parts that Need Replacing
The first step is to identify the parts that need replacing. Take a good look at your lamp and identify any parts that are worn or broken. Common parts that need replacing include the shade, the base, and the lamp holder.
Step 2: Order the Spare Parts
Once you have identified the parts that need replacing, order the spare parts from a reputable supplier. You can easily find spare parts online, on websites such as Amazon, eBay, or the Kartell website.
Step 3: Prepare Your Work Area
Before you start replacing the spare parts, it’s important to prepare your work area. Clear a space to work in, and ensure that you have all the tools you need, such as screwdrivers, pliers, and wire cutters.
Step 4: Replace the Spare Part
Now it’s time to replace the spare part. This will depend on which part you are replacing. However, in general, you will need to remove the old part and replace it with the new one. Follow the instructions that come with the spare part, or use common sense to remove and replace the part.
Step 5: Test Your Lamp
Once you have replaced the spare part, test your lamp to ensure that it’s working correctly. Turn it on and off a few times, and ensure that the light intensity and color are correct.